Delight your little ones this spring with our easy and adorable easter bunny craft! Perfect for family Easter craft fun, our step-by-step tutorial will help you create cute bunny decorations. Dive into creative Easter projects with printable bunny templates and coloring pages that promise a hopping good time for toddlers and preschoolers alike. Get ready to make this Easter memorable with handmade spring crafts and heartwarming artwork.
With Easter just around the corner, it’s the perfect time to engage in some delightful crafting activities with your kids.
In this article, we’ll explore an easy and enjoyable Easter Bunny craft project that is suitable for children of all ages.
This simple but charming project not only allows you to celebrate the holiday but also provides an excellent opportunity for your kids to express their creativity.
Materials Needed for the Easter Bunny Craft:
Before we dive into the step-by-step guide, let’s take a look at the materials you’ll need for this delightful Easter Bunny craft project:
Materials Needed:
To embark on this creative adventure, gather the following materials:
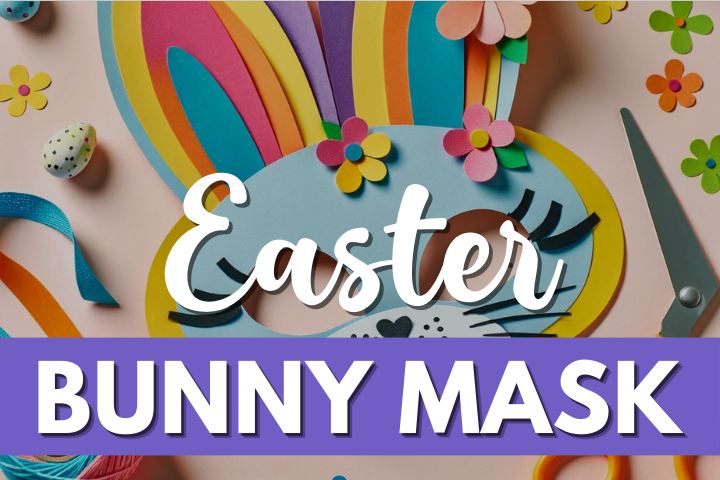
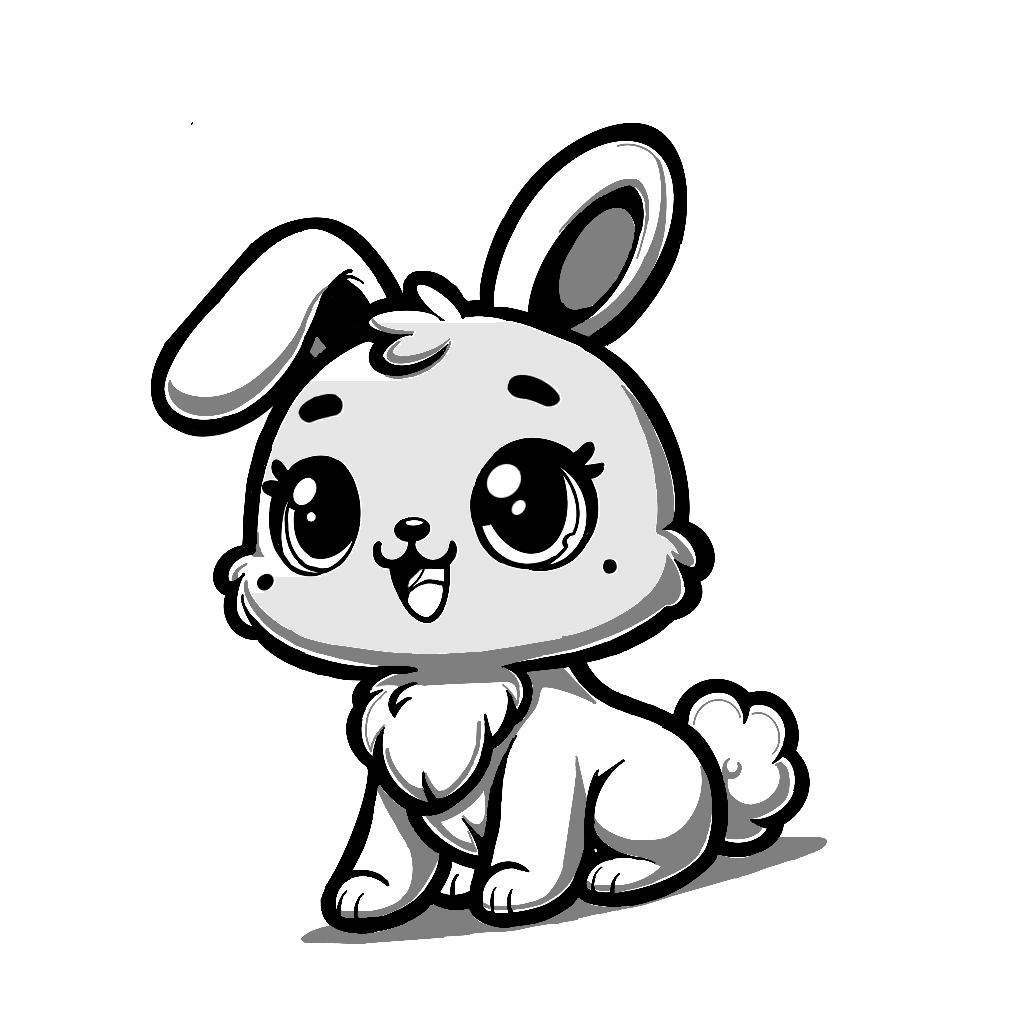
- A black line drawing of the Easter Bunny (Image 1)
- Crayons, markers, or paint
Step-by-Step Guide:
The Easter Bunny Black Line Drawing (Image 1): To kickstart the project, you’ll require a printed black line drawing of the Easter Bunny. This drawing has been designed with simplicity in mind, making it easy for kids to color and cut out.
Color the Bunny: Encourage your children to unleash their artistic potential by coloring the Easter Bunny. They can choose from a wide array of crayons, markers, or paint, allowing them to experiment with various colors to make their bunny truly unique.
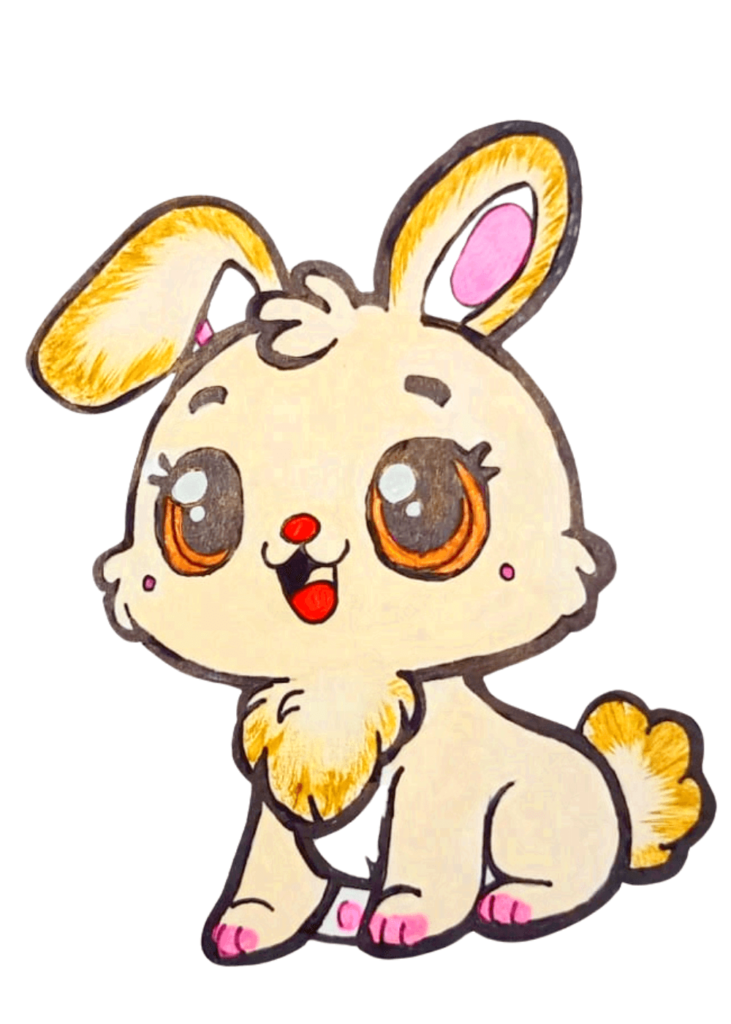
For added creativity, consider the following options:
Additional Creative Choices: Encourage your kids to explore their creativity further by incorporating additional elements into their artwork. They could consider adding a whimsical garden scene, intricately designed Easter eggs, or even introduce stickers and glitter for a touch of sparkle.
Cut Out the Bunny: Once the coloring is complete, guide your children as they carefully cut out the bunny along the lines. For younger children, it’s advisable to provide adult supervision during this step to ensure safety.
Prepare the Background: Select a piece of construction paper or cardstock that complements the colors used on the bunny. This chosen backdrop will provide a harmonious setting for the bunny.
Decorate the Background: Before affixing the bunny, children can decorate the background according to their creative vision. They might choose to sketch a delightful garden, incorporate Easter eggs with intricate patterns, or simply adorn the background with stickers and a sprinkling of glitter for an added dash of charm.
Glue the Bunny: Securely glue the cut-out bunny onto the prepared background. For those looking to add depth and dimension to their creation, consider utilizing double-sided tape or foam spacers.
Add Final Touches: To give your bunny a soft, fluffy tail, adhere a cotton ball to the appropriate spot. Moreover, kids can embellish their artwork further by adding Easter egg stickers or whimsical carrot drawings surrounding the bunny.