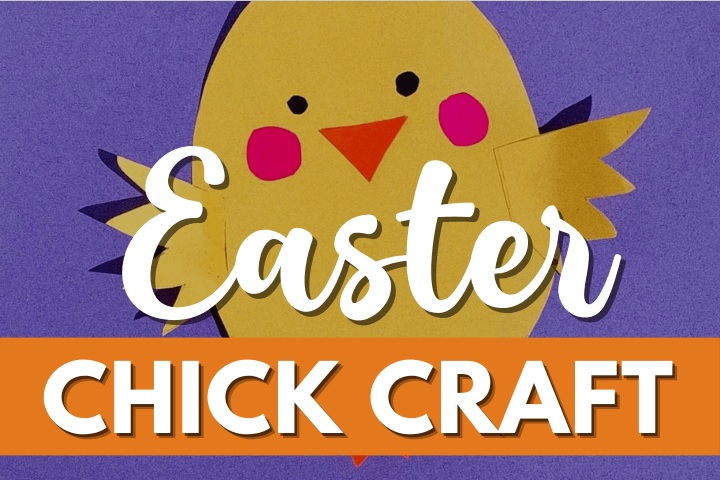
Engage your little ones in a delightful Easter activity with this popsicle stick chick craft for kids. It’s a perfect addition to your collection of Easter crafts for kids, bringing the spirit of the season to life. Dive into the world of DIY spring crafts and watch as your children create adorable bird crafts using simple popsicle stick crafts. Explore a variety of easy DIY kid’s crafts and provide endless craft ideas for children, ensuring they have a blast with these creative activities.
Get ready for some delightful crafting with your little ones as we embark on an exciting Chick Craft project using popsicle sticks.
This creative and hands-on activity is perfect for kids of all ages and allows them to create adorable chick characters. Let’s gather our materials and dive into this charming craft!
Easy DIY Popsicle Stick Chick Craft for Kids

Materials You’ll Need
To create your popsicle stick chicks, you’ll need the following materials:
- Popsicle Sticks: Gather several popsicle sticks for the chick’s body.
- Construction Paper: Make chick’s wings from construction paper.
- Yellow Paint (optional): Choose bright yellow paint for the chick’s body.
- Paintbrushes: Have a set of paintbrushes handy for applying the paint.
- Googly Eyes: These will give your chicks an endearing and playful look.
- Orange Construction Paper: You’ll use this for the beaks and feet.
- Child-Safe Glue: Ensure you have glue suitable for kids to attach the googly eyes and other parts.
- Markers (Optional): Use markers to add additional details and expressions to your chicks.
- Optional: If you’d like to create a nest for your chicks, you can use a small cardboard box, shredded paper, or colored paper for decoration.
Now that you have your materials ready, let’s embark on this delightful chick craft using popsicle sticks!

Crafting Steps
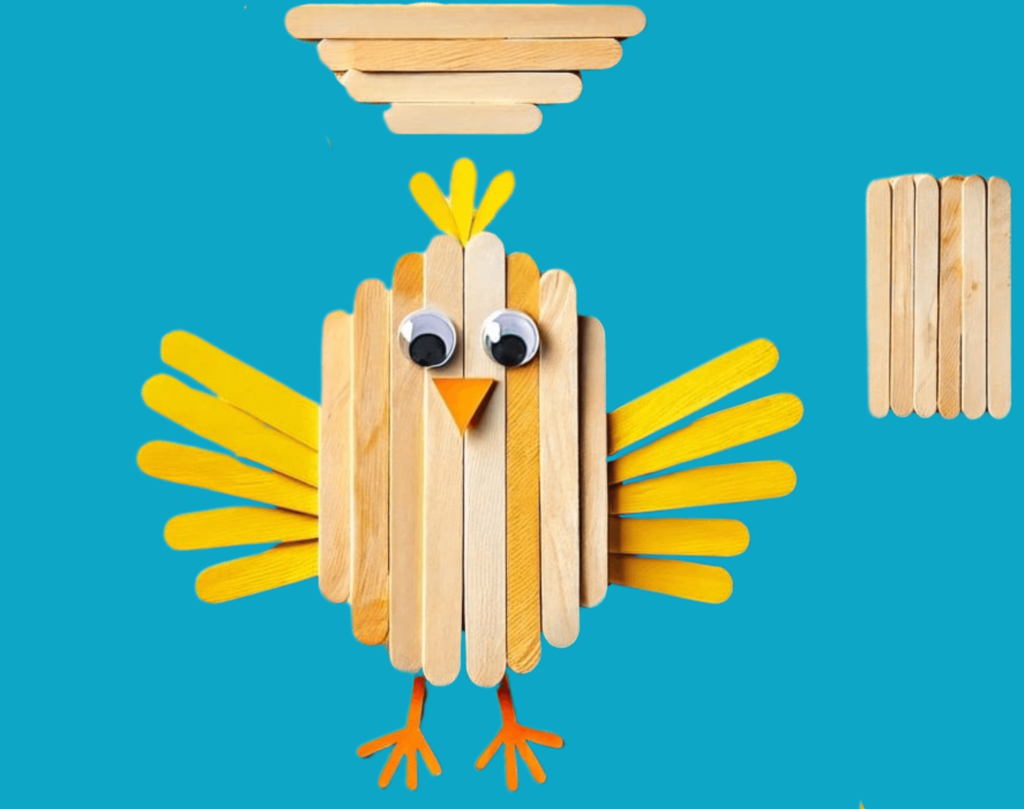
Step 1: Assemble the Popsicle Stick Body
Take several popsicle sticks and arrange them side by side to create the body of the chick. You can use as many sticks as you like, depending on the desired size.
Use craft glue to attach the sticks together firmly. Allow the glue to dry completely.

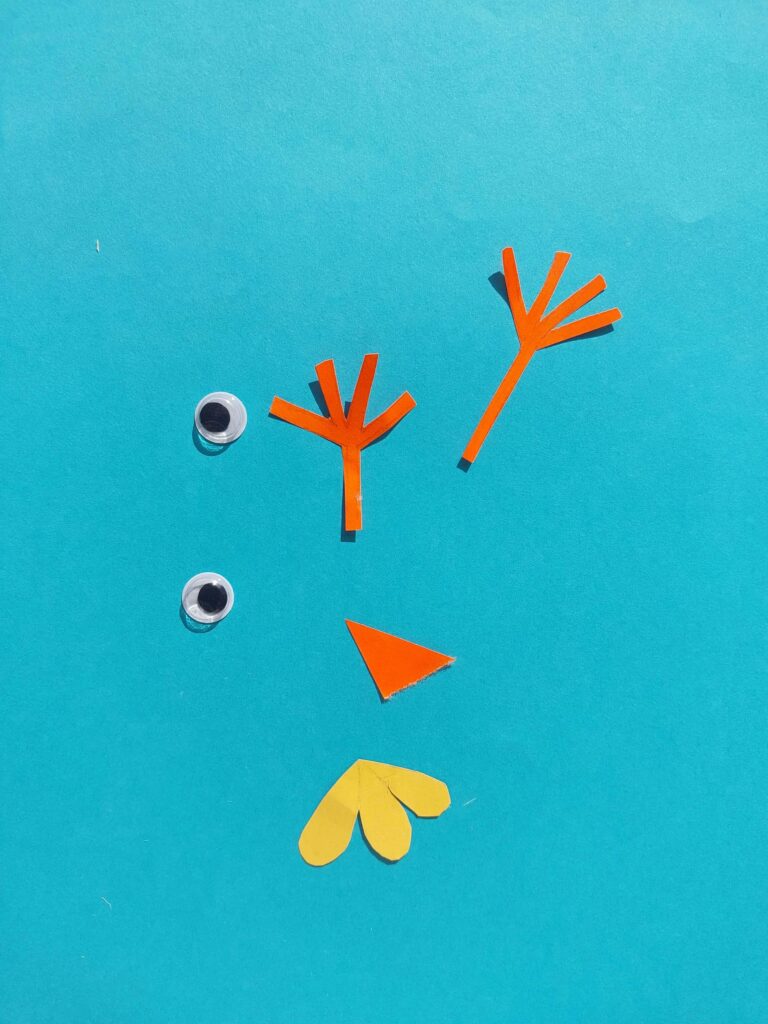
Create Feathers and Beak
From the yellow craft foam or construction paper, cut out feather shapes.
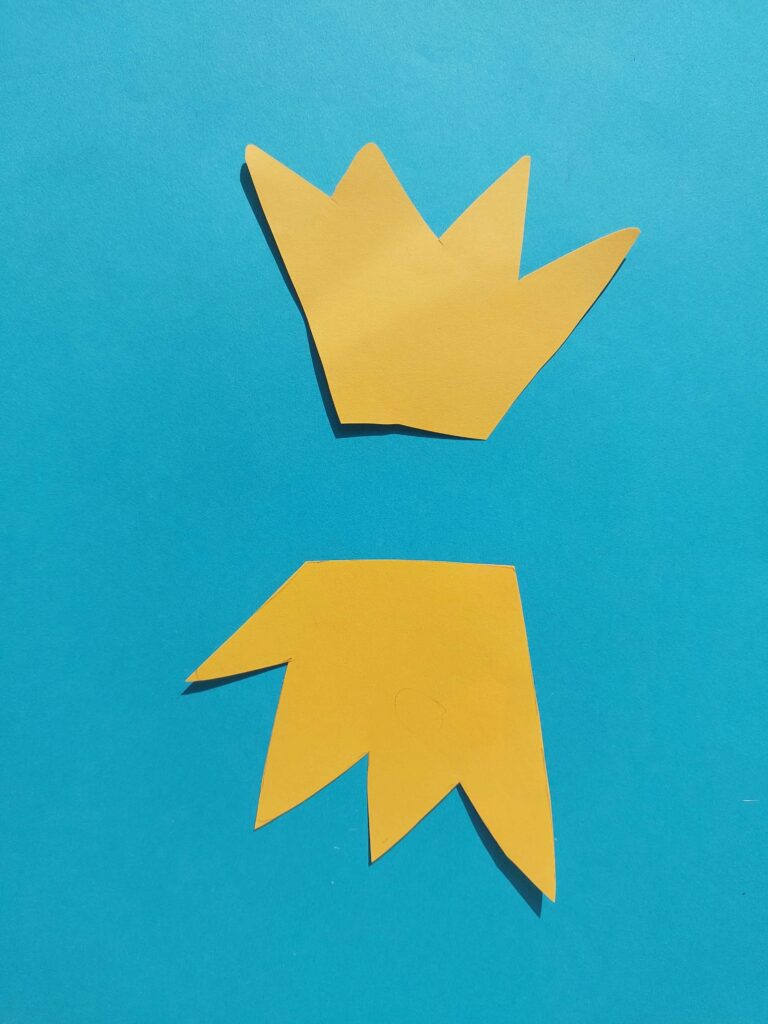
These will be glued onto the front of the popsicle stick body to represent the chick’s feathers.
Cut a small triangle from the orange craft foam or paper. This will serve as the chick’s beak.
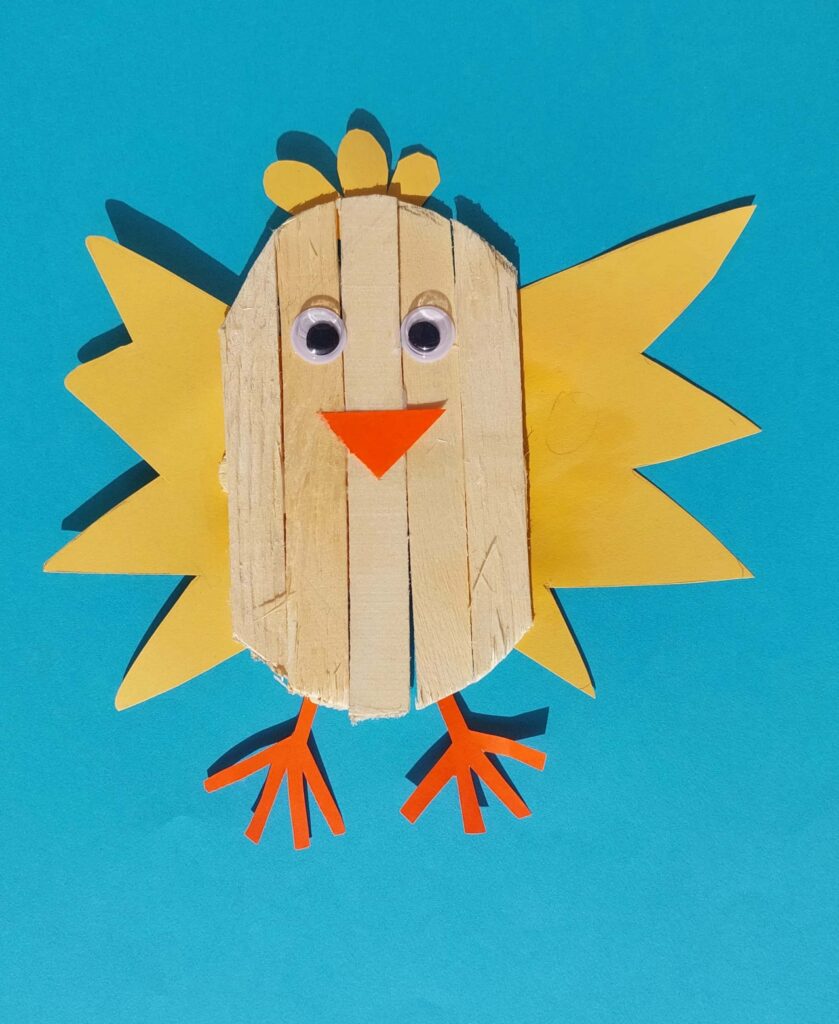
Step 3: Decorate the Chick
Glue the yellow feather shapes onto the front of the popsicle stick body. Overlap them slightly to create a fluffy appearance.
Attach the orange beak just above the feathers.
Add googly eyes above the beak to give your chick a charming and expressive face.
Step 4: Personalize Your Chicks
Encourage your child to get creative by using markers or crayons to draw wings, feet, or additional details on the popsicle stick body.
Allow your child to give each chick a unique personality through their artistic touch.
Step 5: Optional Decorations (Feathers or Stickers)
Make wings from construction paper or if you have small feathers, you can glue them onto the chick’s body for extra texture and color.
Stickers or adhesive paper shapes can also be used for decorating the chicks further.
Celebrate Your Charming Popsicle Stick Chicks!
Your delightful Popsicle Stick Chicks are now ready to spread cheer and creativity!
Display them proudly, use them as table decorations, or share them with friends and family.
These charming chicks not only make for a wonderful craft project but also a great conversation starter about spring and the world of baby chicks.


FAQ’s
1. What is popsicle stick craft?
Popsicle stick craft involves using wooden popsicle sticks to create decorative and functional items through gluing, painting, and assembling. It’s a popular and creative hobby for making various handmade items like picture frames, keychains, and more.
2. How to make a simple popsicle stick?
To make a simple popsicle stick, you’ll need popsicle sticks, glue, and decorations (optional). Start by applying a thin layer of glue to one end of one popsicle stick. Press another popsicle stick on top to form a “T” shape. Allow it to dry completely. You can decorate your popsicle stick creation as desired.
3. How long is a craft popsicle stick?
A standard craft popsicle stick is typically about 4.5 inches (11.4 centimeters) long.
4. 1. Is the Popsicle Stick Chick Craft suitable for all ages of children?
Yes, this craft is suitable for children of various ages. Younger children may need some assistance with cutting and gluing, while older kids can enjoy more independence in the crafting process.
5. Where can I find the materials needed for this craft?
You can find the materials for the Popsicle Stick Chick Craft at most craft stores, or you can order them online. Basic supplies like popsicle sticks, craft foam, and googly eyes are readily available.
6. Can I use alternative materials if I don’t have specific craft supplies?
Absolutely! Feel free to improvise with materials you have at home. For example, you can use colored paper instead of craft foam and draw eyes instead of using googly eyes.
7. How long does it take to complete one Popsicle Stick Chick?
The crafting time can vary depending on the child’s age and the level of detail added to the chick. On average, it may take 20-30 minutes to create one chick.