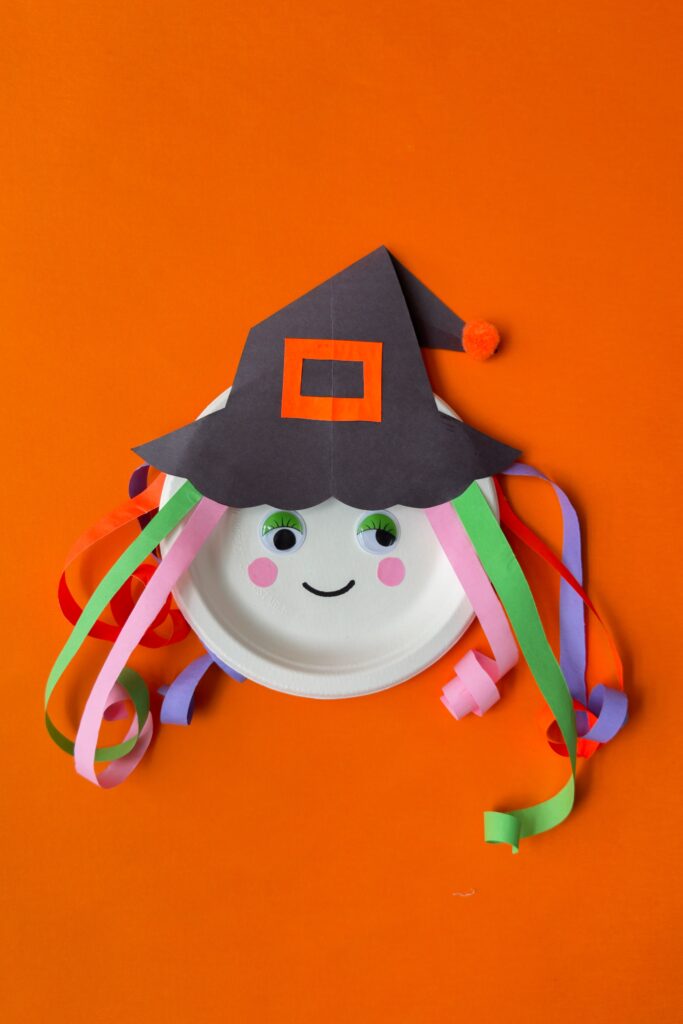
DIY Halloween witch craft perfect for kids! This easy paper plate witch craft uses simple materials like paper plates, construction paper, and googly eyes, making it a fun Halloween craft for preschoolers and toddlers. Get creative with Halloween paper plate crafts while keeping it spooky and simple. This witch craft idea is great for classroom activities or a fun Halloween project at home. Try this easy Halloween craft for kids and let them enjoy the magic of DIY Halloween crafts!
Halloween is the perfect time to get creative, and what better way to celebrate than by making your very own spooky witch craft? Whether you’re hosting a Halloween party or just looking for a fun afternoon activity, this DIY Halloween witch craft is easy, affordable, and guaranteed to bring out the Halloween spirit in everyone!
Fun DIY Halloween Witch Crafts for Kids

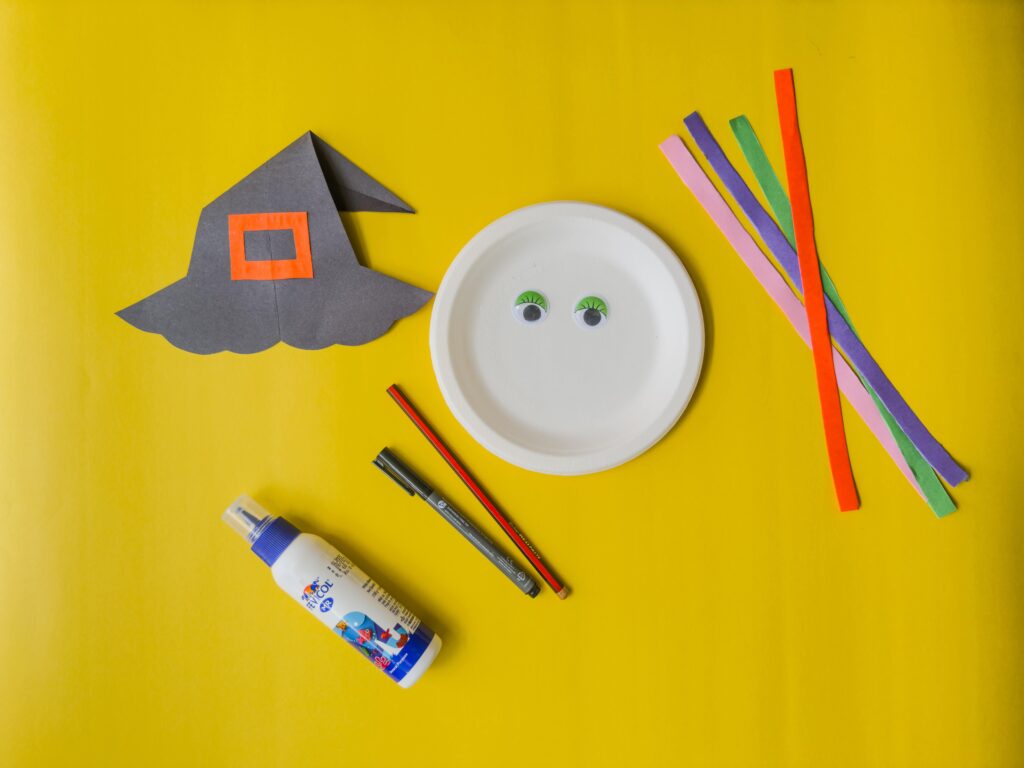
Materials You’ll Need
- Paper plates (for the witch’s face)
- Googly eyes
- Green or black construction paper (for the hat)
- Colorful construction paper (for the witch’s hair – e.g., orange, purple, pink, red, green)
- Pompom (for decorating the hat)
- Black marker or crayon (for facial features)
- Scissors, glue
Step-by-Step Instructions to Make a Halloween Witch Craft
Step 1: Design the Witch’s Face
Start with a plain paper plate, which will act as the witch’s face.
Use the black marker or crayon to draw the witch’s mouth. For a classic look, you can make the nose pointy and add a smirk for the mouth.
Glue the googly eyes in place to give your witch a spooky, playful expression.
Step 2: Create the Witch’s Hat
Cut out a large triangle from black or green construction paper to make the witch’s hat.
Use a strip of orange paper to create a band across the hat for extra detail.
Attach the pompom to the tip of the hat to add a fun, quirky touch.
Once finished, glue or tape the hat to the top of the paper plate, slightly tilting it for a mischievous look.
Step 3: Add Colorful Witch Hair
Cut several strips of colorful construction paper (such as red, green, pink and purple) to make the witch’s hair.
To give the hair texture, wrap each strip around a pencil to curl it before attaching.
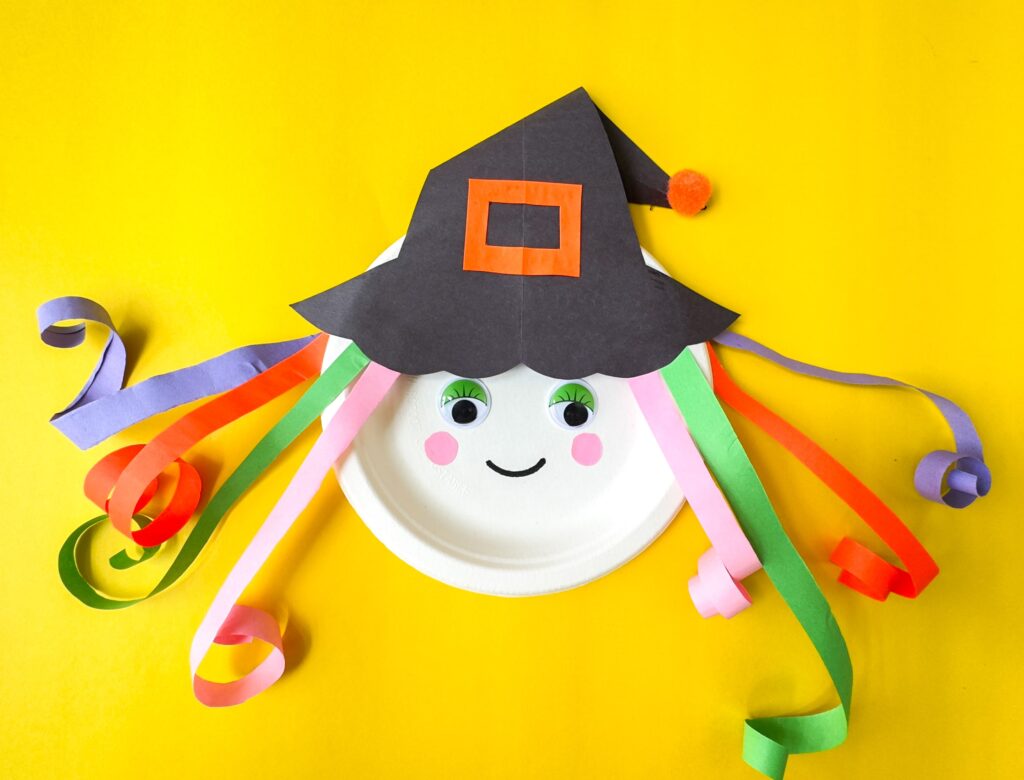
Glue the paper hair along both sides of the plate so that it sticks out from under the hat, giving the witch a wild and fun hairstyle.
Step 4: Final Touches and Decorations (optional)
Draw additional features such as freckles, warts, or even a small scar on the witch’s face to give it more character.
Add any other spooky details, like a little spider hanging from the hat or a broomstick made from construction paper, for added creativity.
Display Your Witch Craft
Once the craft is finished, you can display your Halloween witch by hanging it on the wall or sticking it to windows for a spooky decoration.
This craft is also perfect for Halloween parties, school projects, or simply a fun activity to do with your kids.
Why This Witch Craft is Perfect for Halloween
Affordable: Using simple materials like paper plates and construction paper makes it budget-friendly.
Kid-Friendly: This craft is easy to do and safe for kids of all ages, making it a fun family activity.
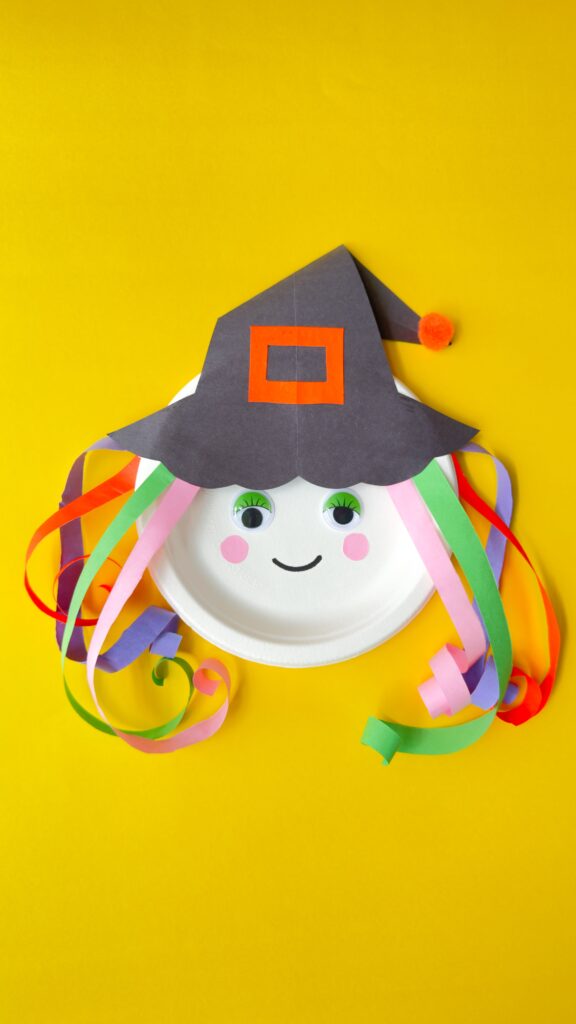
Customizable: You can personalize the witch’s features, hair color, and hat style to match your spooky vision.
Conclusion: A Fun and Simple Halloween Witch Craft
Wrap up by emphasizing how this DIY Halloween witch is a quick, easy, and entertaining project for anyone looking to get into the Halloween spirit. Encourage readers to try the craft with friends and family, and share their results!


