Engage your kids in a delightful crafting adventure with an adorable Easter bunny craft. Dive into the world of creativity with these fun DIY Easter crafts, especially for children. Crafting Easter Bunny paper crafts is not only a creative but also a fantastic way to celebrate the season. These easy Easter craft ideas promise hours of entertainment and imaginative fun for your little ones. Embrace the spirit of spring with our spring craft for kids, making the holiday season even more special.
Fun Easter Bunny Craft for Kids: Step-by-Step Guide
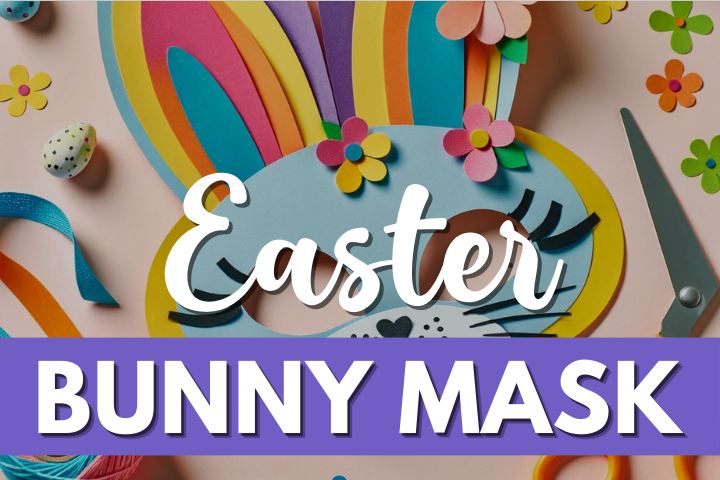
Easter is just around the corner, and what better way to celebrate than with a delightful Easter bunny craft that will keep your kids entertained and creatively engaged?
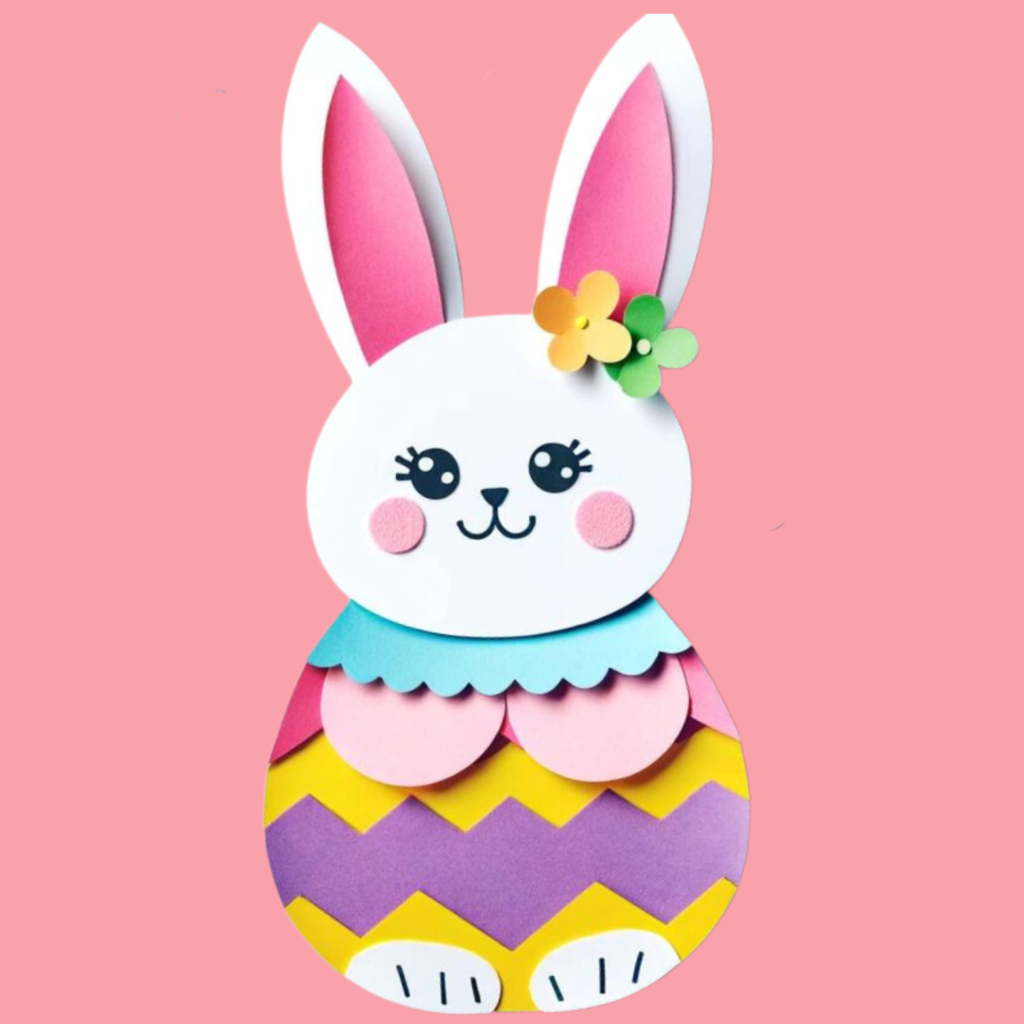
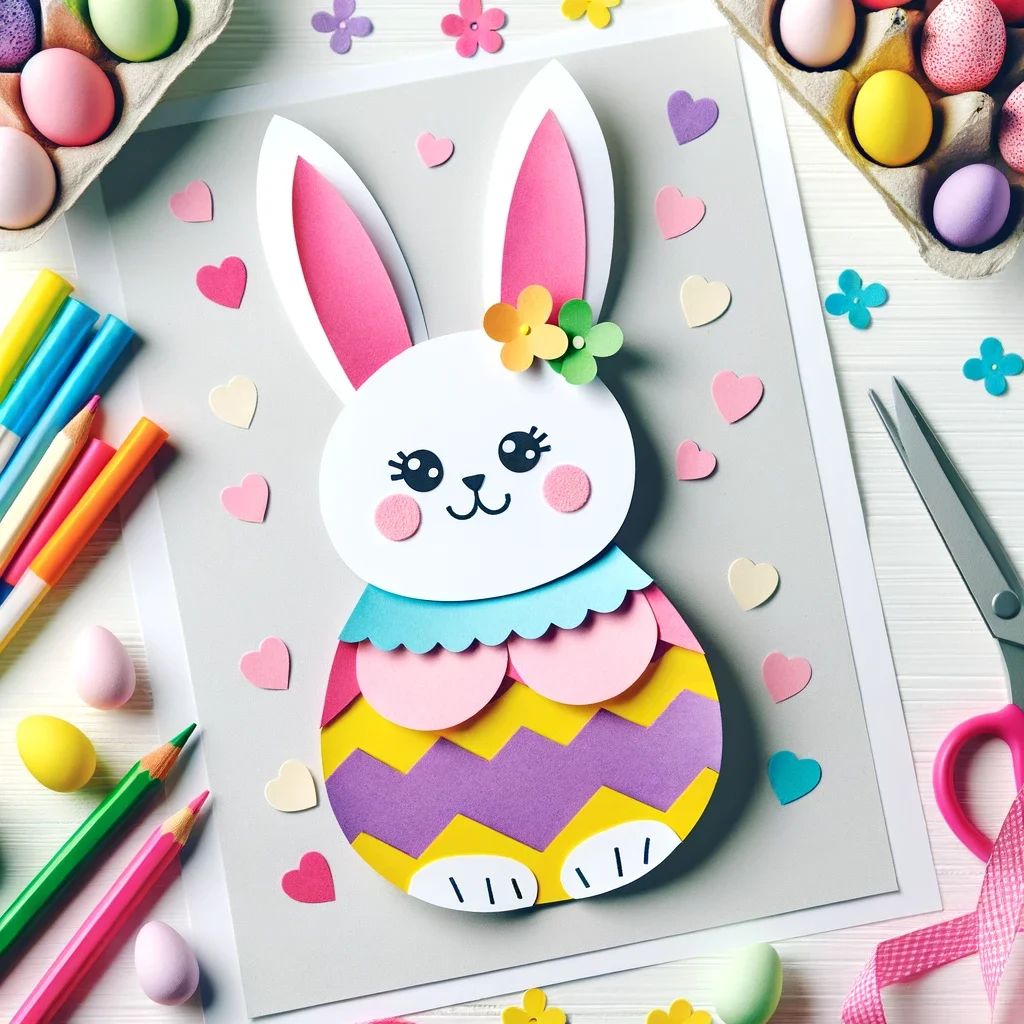
In this step-by-step guide, we’ll show you how to create an adorable Easter bunny using simple materials and easy-to-follow instructions. Let’s hop right into it!

Materials You’ll Need:
- Construction paper in various colors (white, pink, purple, yellow)
- Scissors
- Glue
- Markers or colored pencils
- Optional: Googly eyes (optional)
- Cotton balls or pom-poms (optional)
Step-by-Step Instructions:
1. Cutting Out Shapes
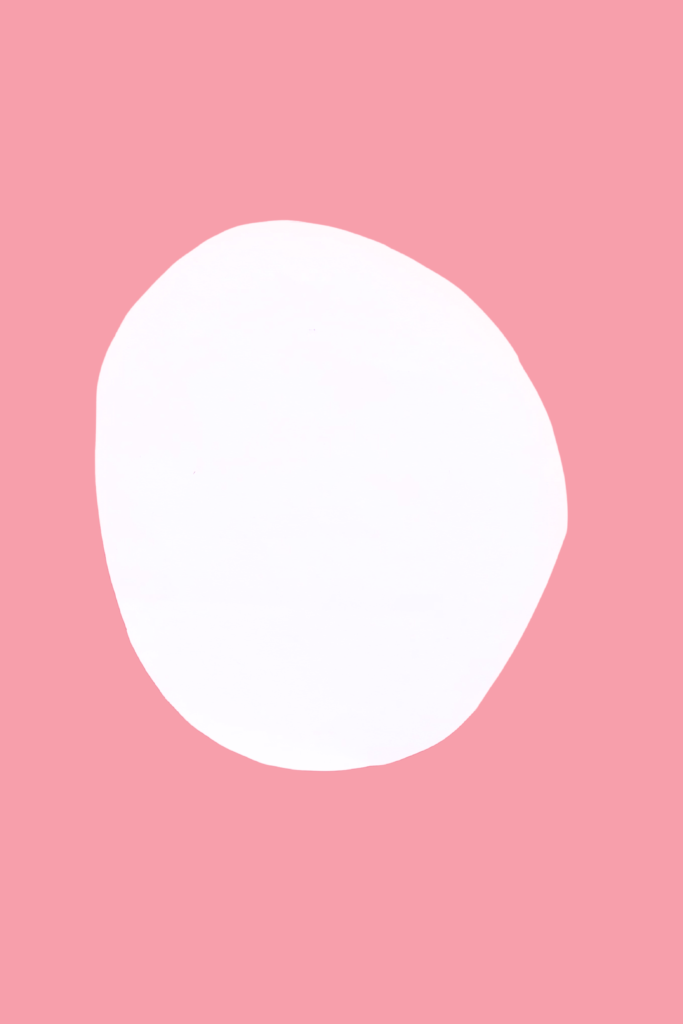
Start by cutting out a large oval shape from the white paper. This oval will be the bunny’s body.
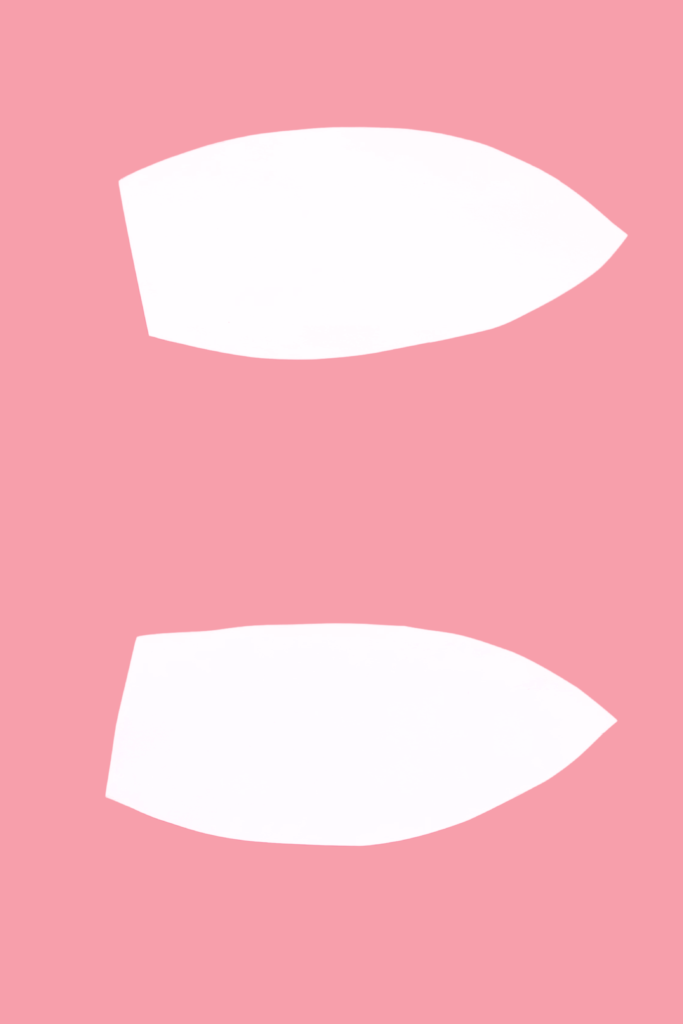
For the bunny’s ears, cut out two long ear shapes from the white paper.
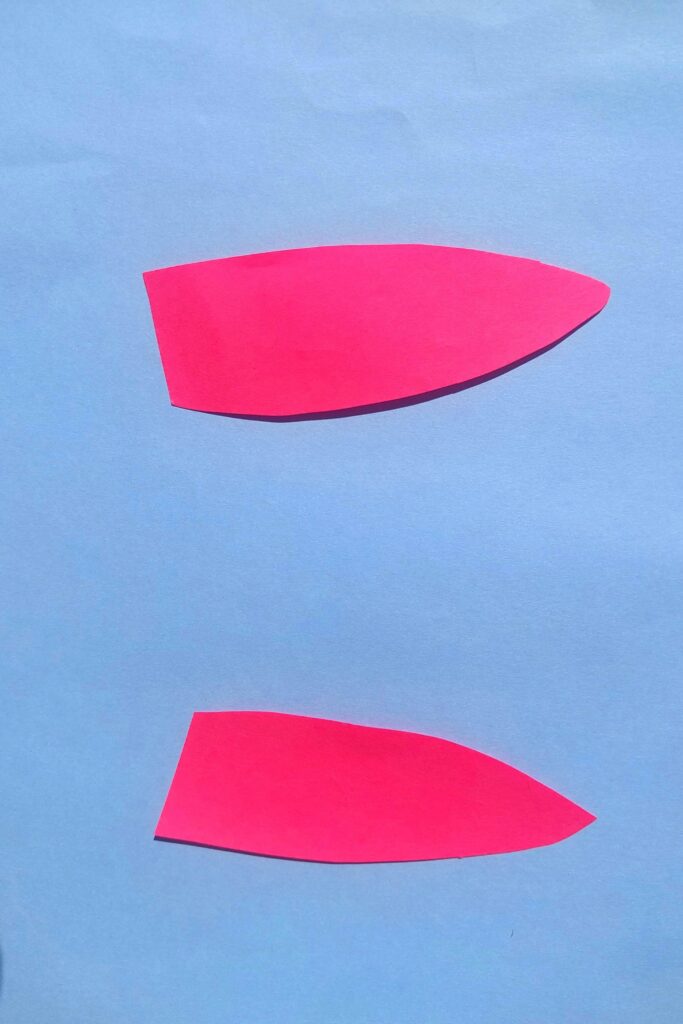
Additionally, cut smaller versions of these ear shapes from the pink paper to create the inner ear.
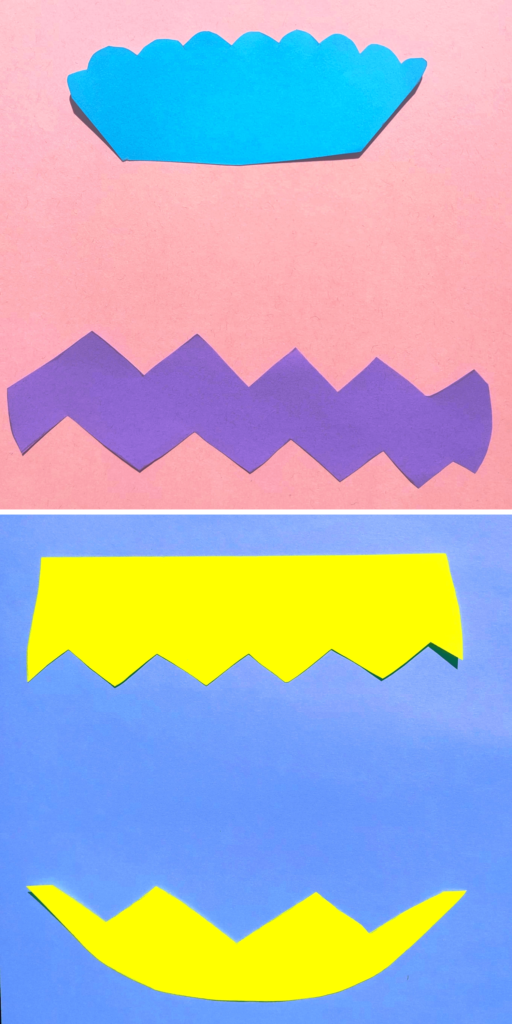
To make bunny more attractive cut out some different designs for bunny’s body.
2. Assembling Your Easter Bunny:
Attach the pink ear shapes to the white ear shapes, creating a cute contrast.
Now, affix the ears to the top of the bunny’s head.
If you have googly eyes on hand, you can add them for an extra touch of charm. Alternatively, use markers to draw the bunny’s eyes.
Don’t forget to draw a sweet little nose, a mouth, and some whiskers on the bunny’s face to give it character.
3. Decorating Your Bunny:
Get creative with the small colored paper shapes you’ve cut out.
These can be circles, stars, hearts, or any other shapes your child desires.
Glue them onto the bunny’s body in a fun and imaginative way.
For an added touch of Easter cuteness, consider attaching a cotton ball or pom-pom to the back of the bunny to create a fluffy tail.
4. Adding the Final Touches:
Let your child’s creativity shine by using markers or colored pencils to add any additional details or patterns to the bunny’s body. This is where they can truly make the bunny their own.
Allow all the glue and paint to dry completely before moving on to the next step.
5. Displaying Your Easter Bunny:
Once your Easter bunny craft is fully dry, it’s ready to be proudly displayed.
You can hang it up around the house or place it on a table as a charming Easter decoration.
It’s sure to add a festive touch to your home during this special holiday season.
Feel free to encourage your kids to personalize their Easter bunny craft by using different colors or adding more decorations such as glitter or stickers.
This project is not only a fantastic way to celebrate Easter but also a wonderful opportunity for children to express their creativity. Enjoy the crafting process and have a happy Easter!
FAQ’s
1. Can I use different colors for the bunny’s body and ears?
Absolutely! Feel free to let your child’s creativity shine by using various colors for the bunny’s body and ears. You can mix and match colors to make the Easter bunny even more unique.
2. Are there any alternatives to cotton balls for the bunny’s tail?
Yes, you can get creative with materials for the bunny’s tail. Instead of cotton balls, consider using small pieces of white yarn, fuzzy fabric, or even a cut-out paper tail for a different texture.
3. How can I make this craft more challenging for older kids?
If you have older kids who are looking for a more challenging project, you can encourage them to add intricate designs or patterns to the bunny’s body. They can also experiment with different shapes and sizes for the decorations.
4. Can I use this craft as a classroom activity or for a group of kids?
Absolutely! This Easter bunny craft is perfect for classroom activities or group settings. You can prepare the materials in advance and guide the kids through the steps. It’s a great way to encourage teamwork and creativity.
5. How long does it take to complete this craft?
The time it takes to complete the Easter bunny craft will vary depending on your child’s age and crafting abilities. On average, it can take anywhere from 20 minutes to an hour. It’s a fun and engaging activity that allows kids to express themselves while enjoying the creative process.
6. Are there any additional ways to customize the bunny’s appearance?
Yes, you can customize the bunny’s appearance further by adding accessories such as tiny bows, paper flowers, or even a mini-Easter basket. Encourage your child to let their imagination run wild and make the bunny uniquely their own.
7. Are there any safety precautions I should be aware of?
While this craft is generally safe, it’s essential to supervise young children when using scissors and glue to ensure their safety. Make sure to use child-friendly scissors and non-toxic glue suitable for crafting.